使用 rviz2 的 Eclipse Oxygen [社区贡献]
设置
本教程假设您已经安装了Eclipse Oxygen、git和Egit(http://www.eclipse.org/egit/download/)
在整个教程中,我们将把eclipse工作空间与ros2软件包命名为相同的名称,但这并非必需。
提示:我们为每个ROS-2软件包使用嵌套项目和一个Eclipse工作空间。

创建一个C++项目。
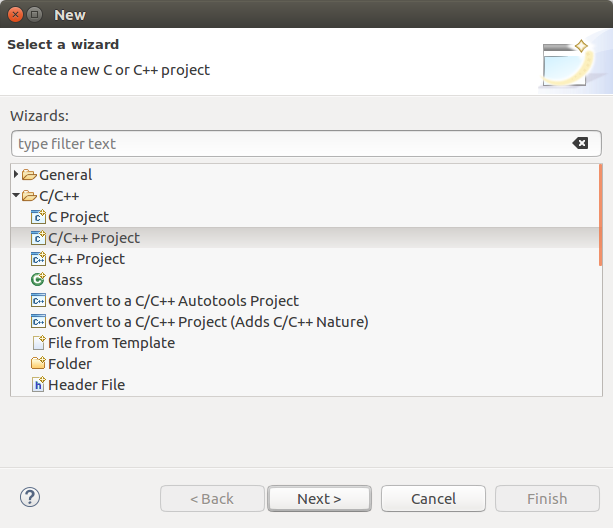

将ROS 2软件包名称选择为项目名称。选择一个Makefile项目和其他工具链。
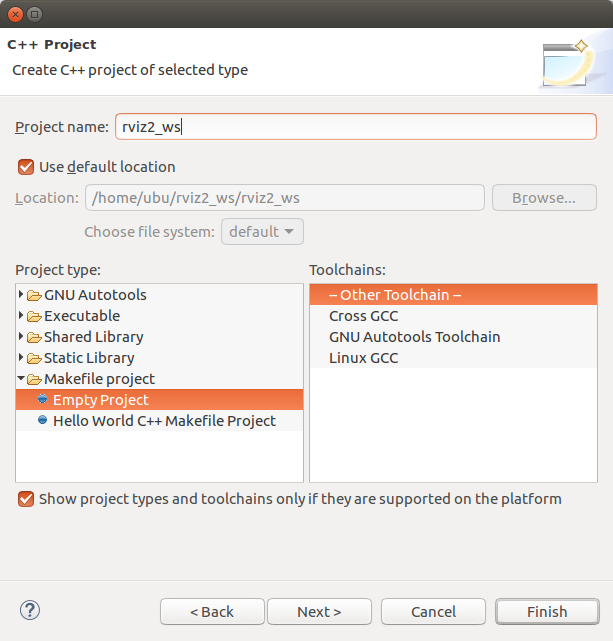
点击完成。
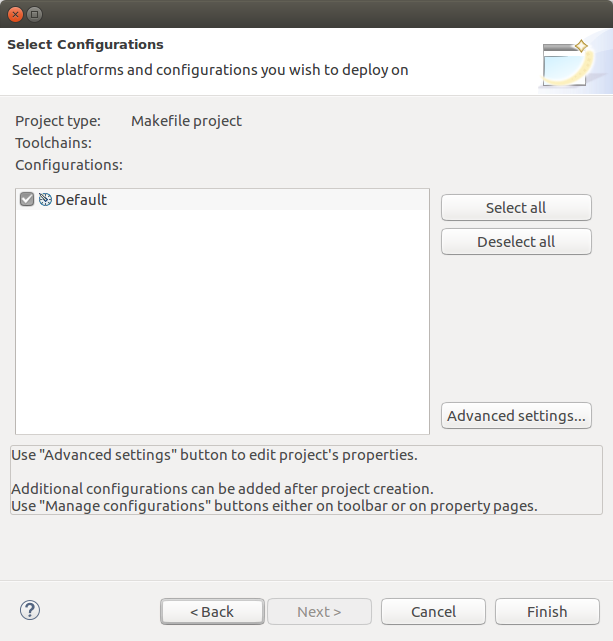
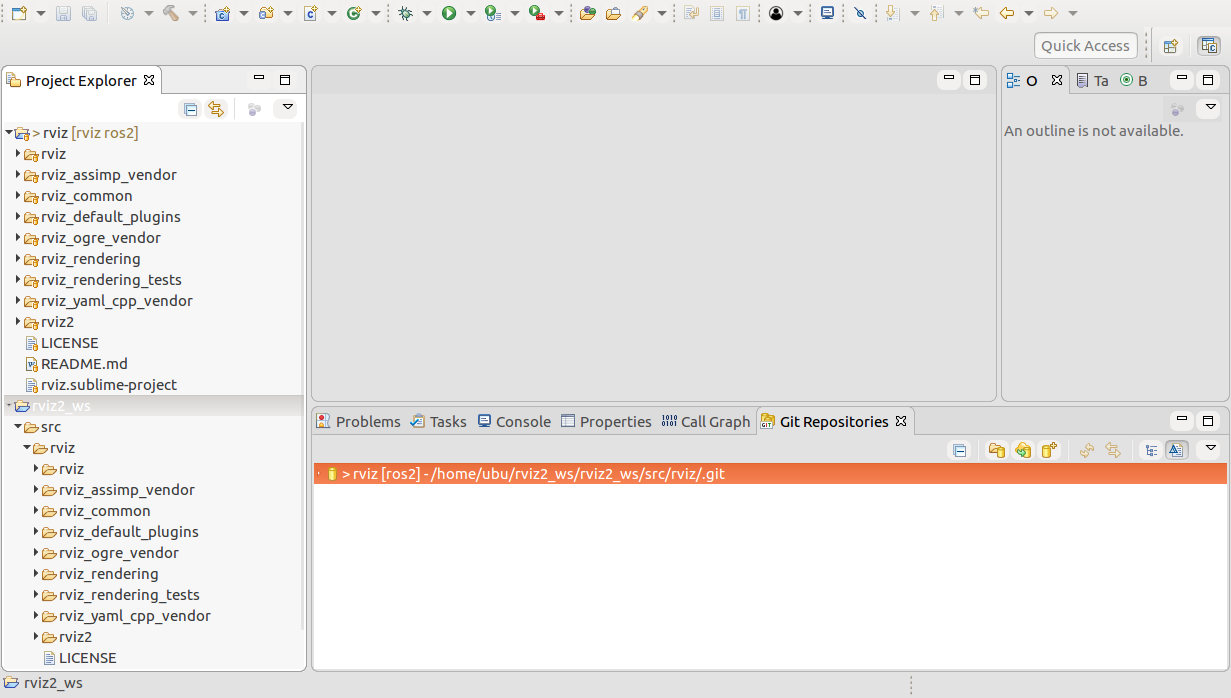
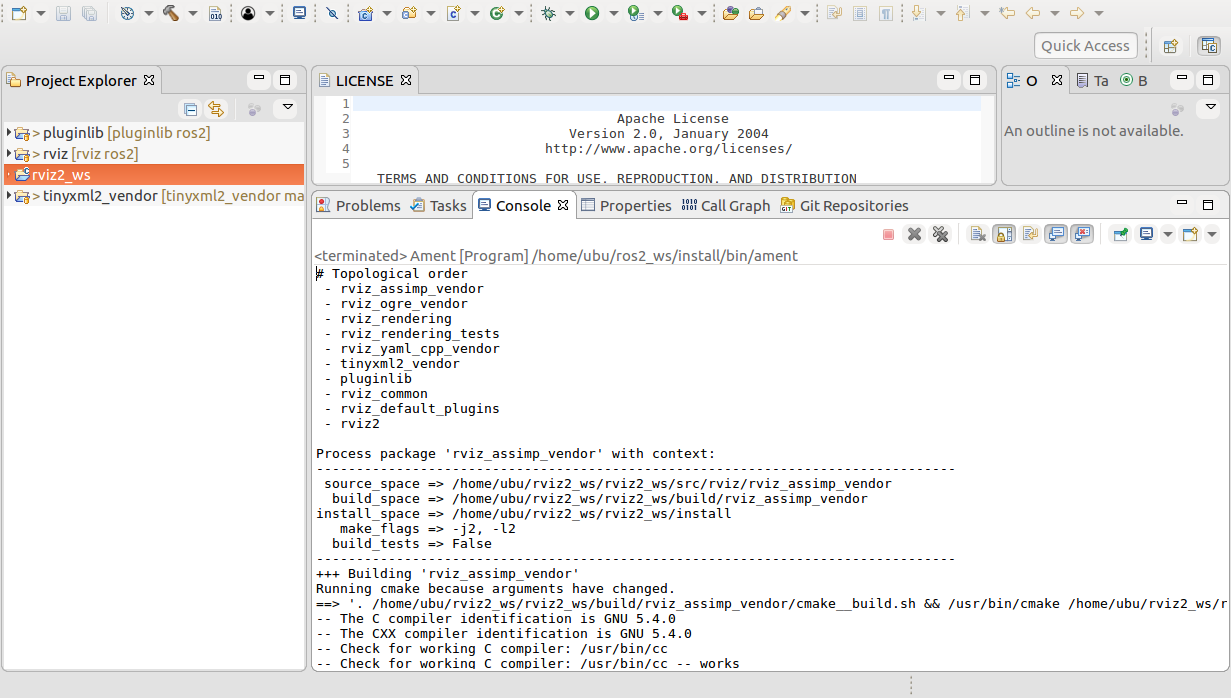
我们的项目应该显示在“项目浏览器”中。
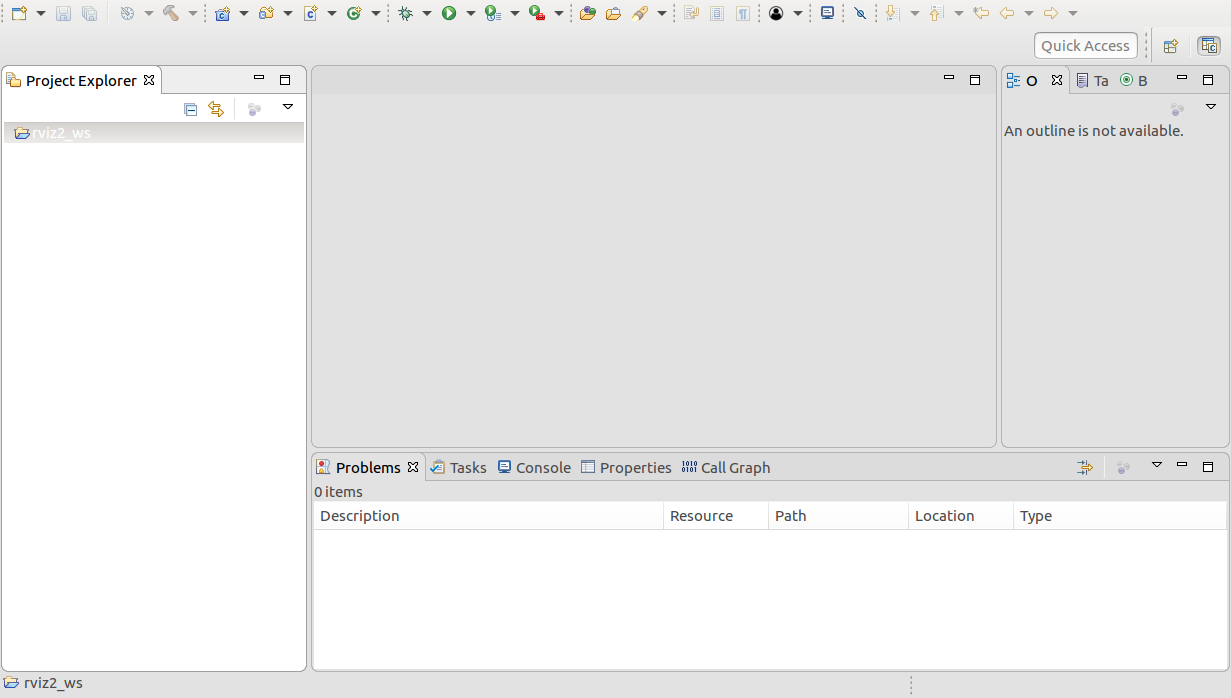
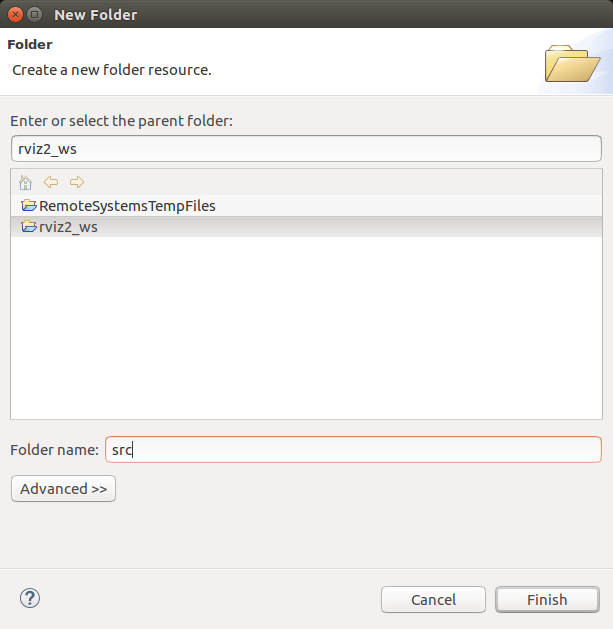
在我们的项目中创建一个名为“src”的文件夹。
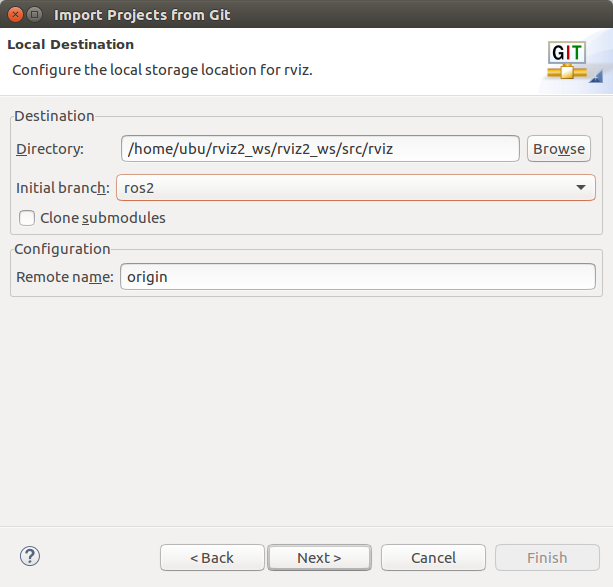
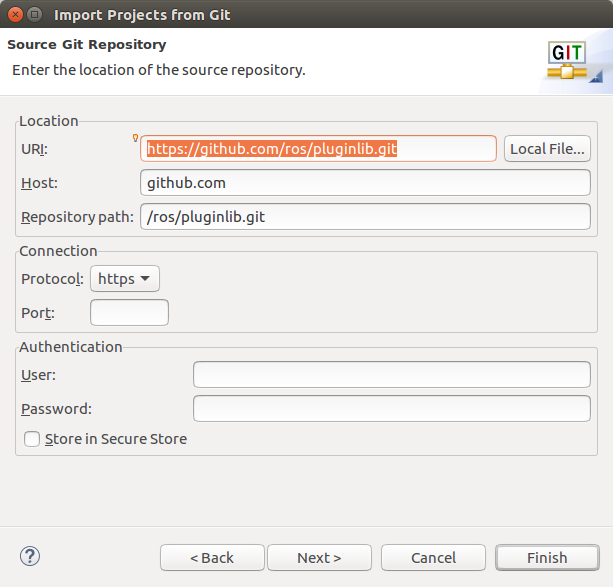
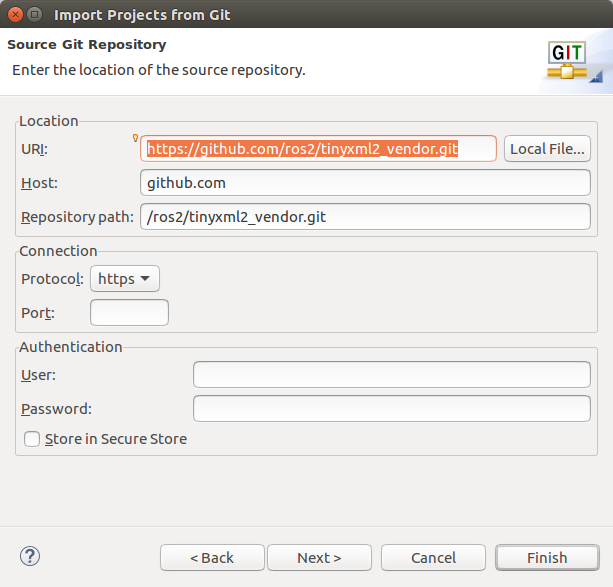
导入一个git仓库。
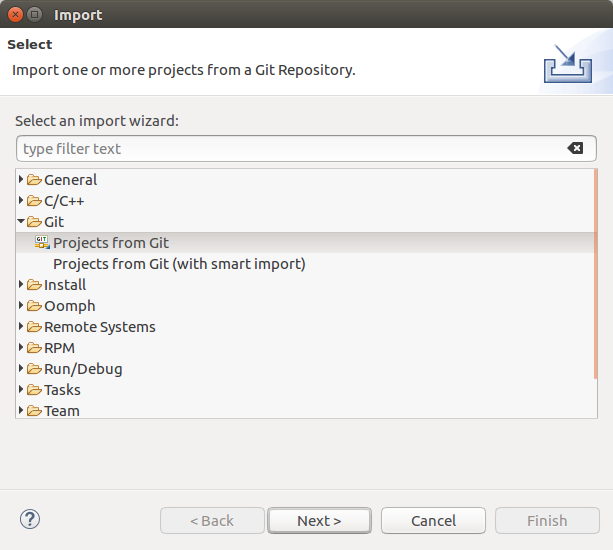
输入仓库的URL。
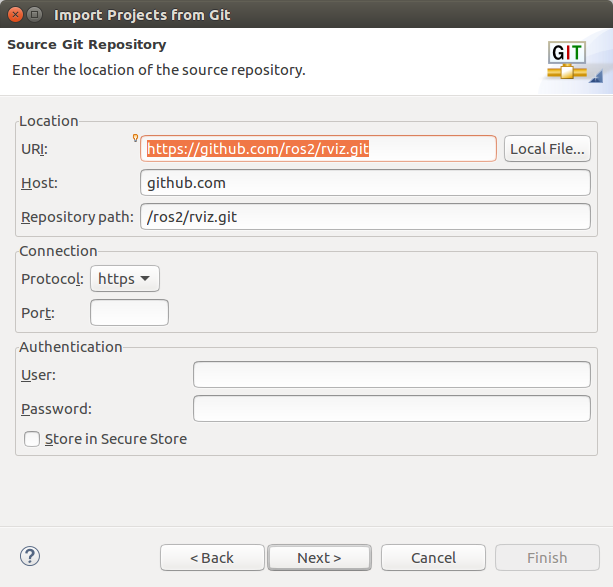
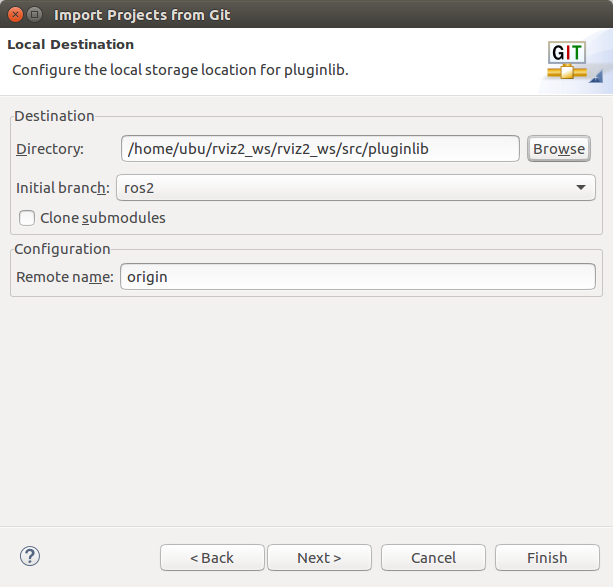
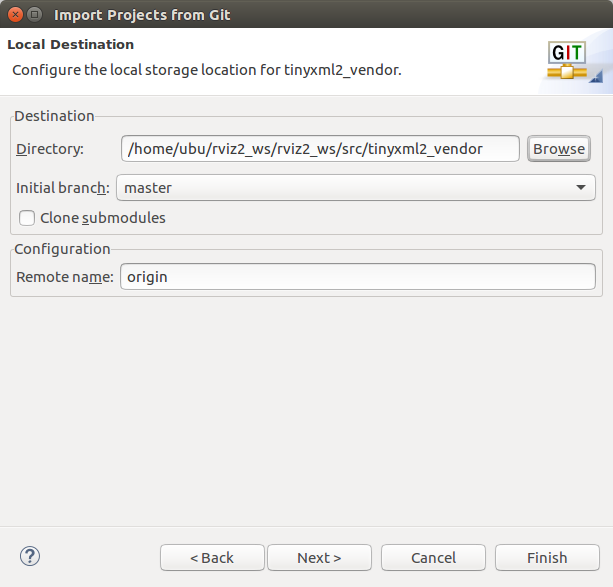
重要提示:将我们之前创建的项目的源文件夹作为目标文件夹。
提示:如果在选择目标文件夹路径时遇到问题,Eclipse对话框需要在名称字段中输入一个名称。
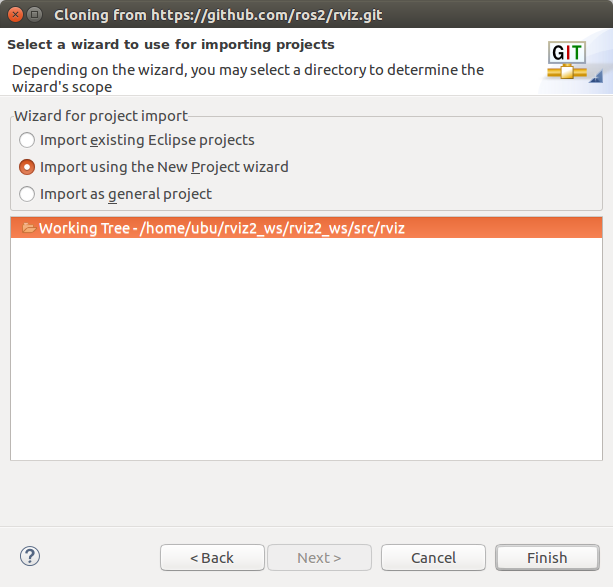
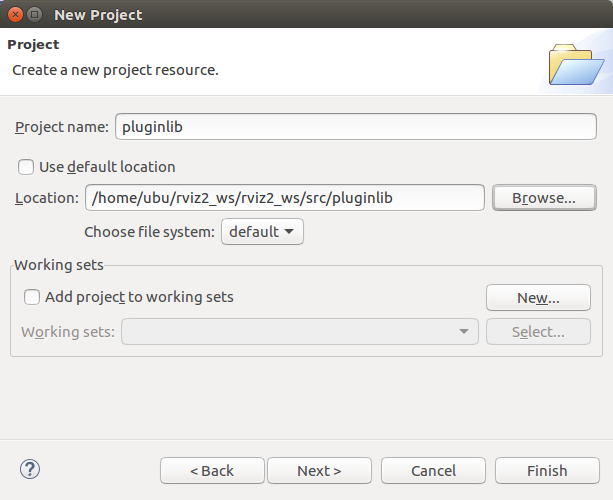
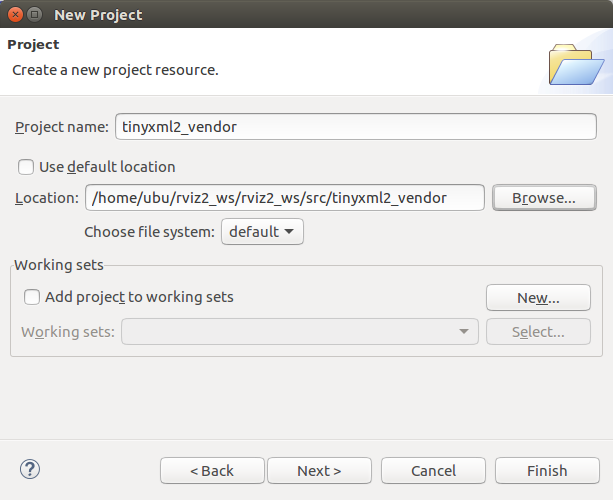
使用新项目向导导入。
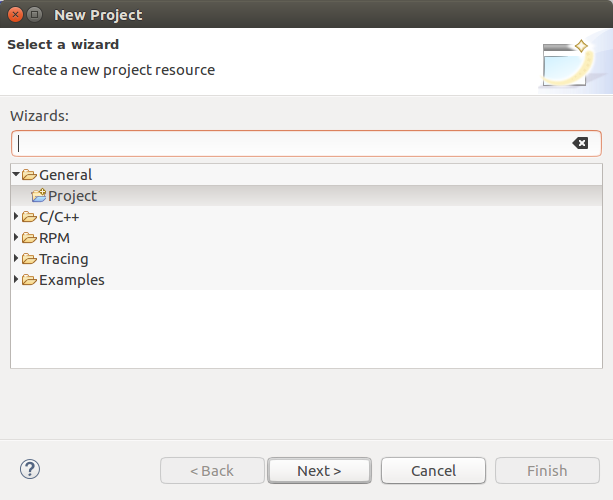
创建一个常规->项目。
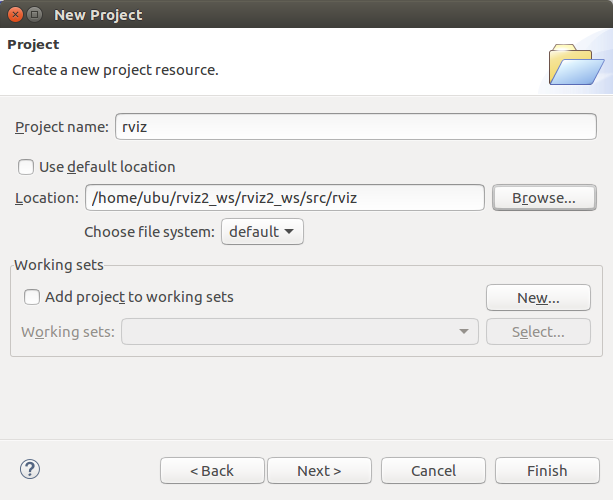
将Git仓库的名称用作项目名称。重要提示:将克隆Git仓库的文件夹用作“位置”。
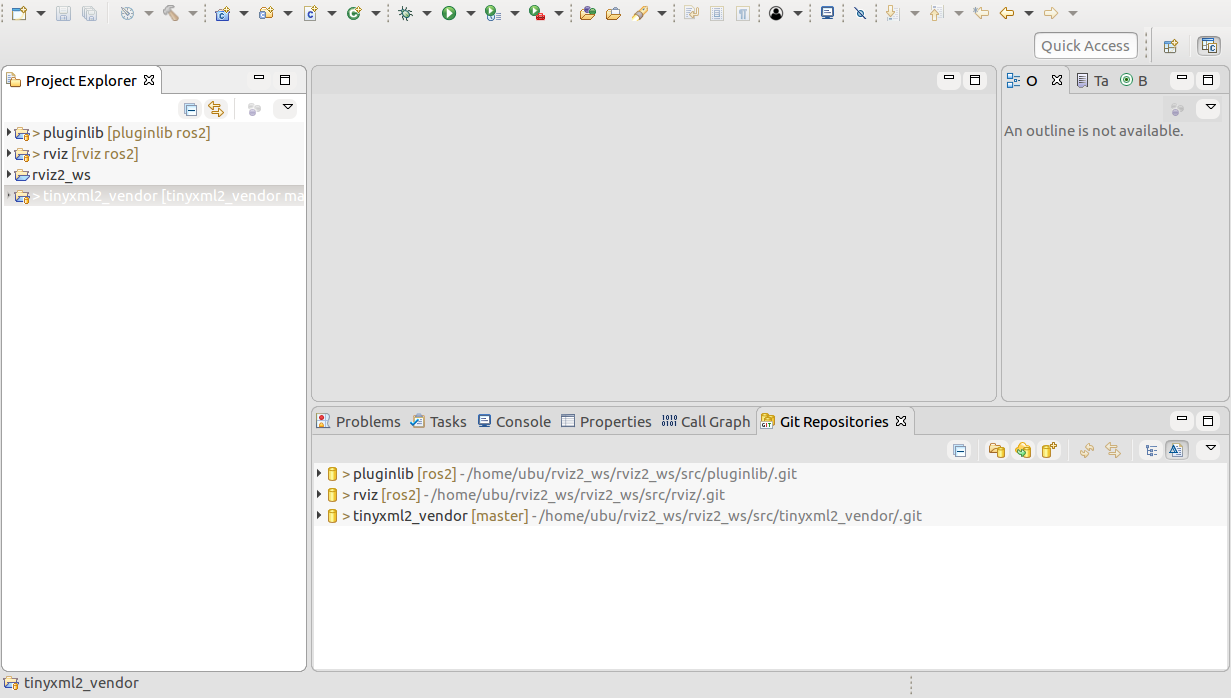
在“项目资源管理器”视图中应该能够看到Git项目和新项目。相同的文件会列出多次,但只有一个项目与Egit链接。
重复此步骤。导入Git仓库pluginlib。
重要提示:将“目标->目录”设置为源文件夹内的一个文件夹。
重要提示:使用我们克隆的git仓库所在的文件夹作为新项目的位置。
对tinyxml2_vendor git仓库执行相同的步骤。
重要提示:再次使用源文件夹中的一个文件夹。
重要提示:使用我们克隆的文件夹的位置作为新项目的文件夹。
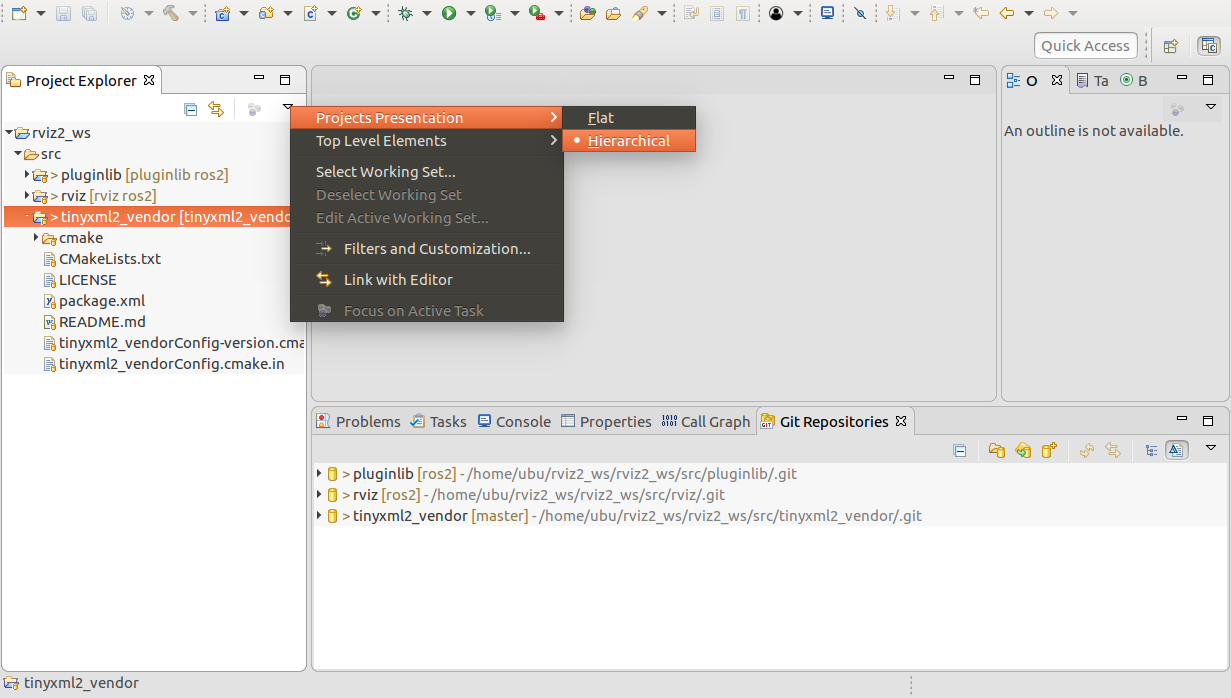
现在,所有四个项目应该在项目浏览器视图中可见。
点击右上角的项目浏览器视图可以改变项目展示方式为分层视图。现在它看起来像一个ROS-2项目,就像在硬盘上一样。但是这个视图失去了与Egit的链接,所以请使用扁平项目展示方式。如果你想查看哪个作者编写了哪行代码等信息,Egit的链接非常有用。
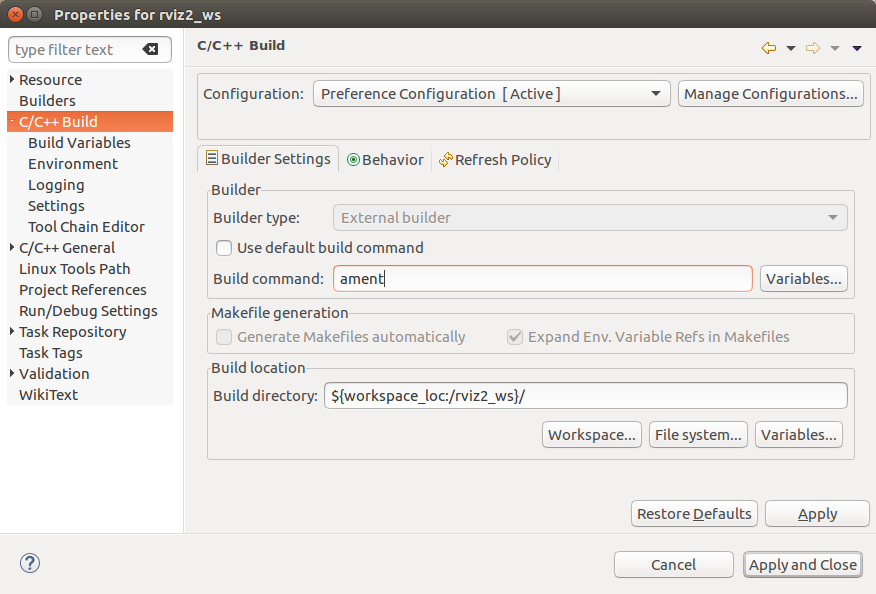
转到"C/C++构建"部分,并将"ament"放入"构建命令"中。
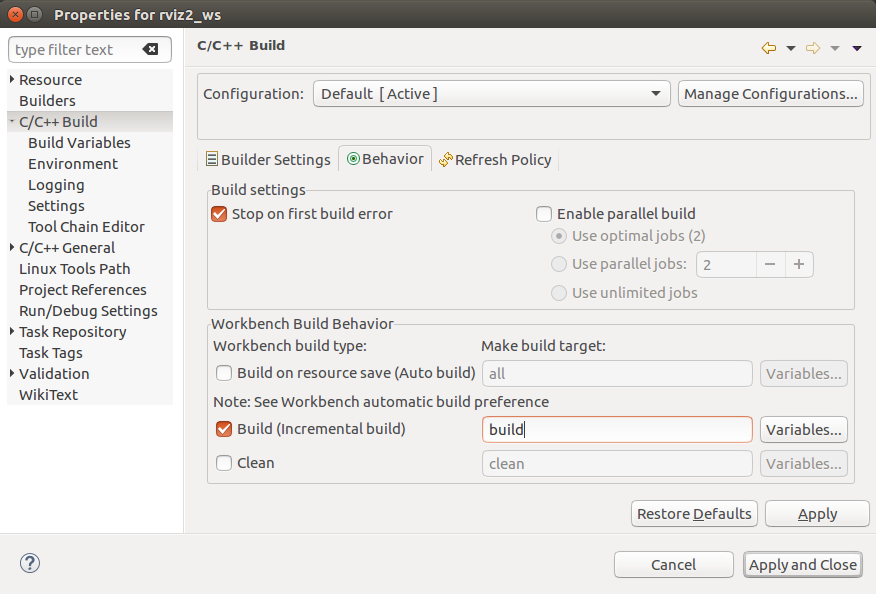
转到"行为"选项卡,取消选择"清除",并将"build"放入构建文本框中。
在"构建项目"之前,我们需要关闭Eclipse。打开一个shell并source ROS-2的setup.bash文件,然后cd到eclipse项目的目录(这里是:/home/ubu/rviz2_ws/rviz2_ws),并从该目录中启动Eclipse。
现在代码自动完成、egit注释、Eclipse C/C++工具等都应该正常工作。
Eclipse索引器
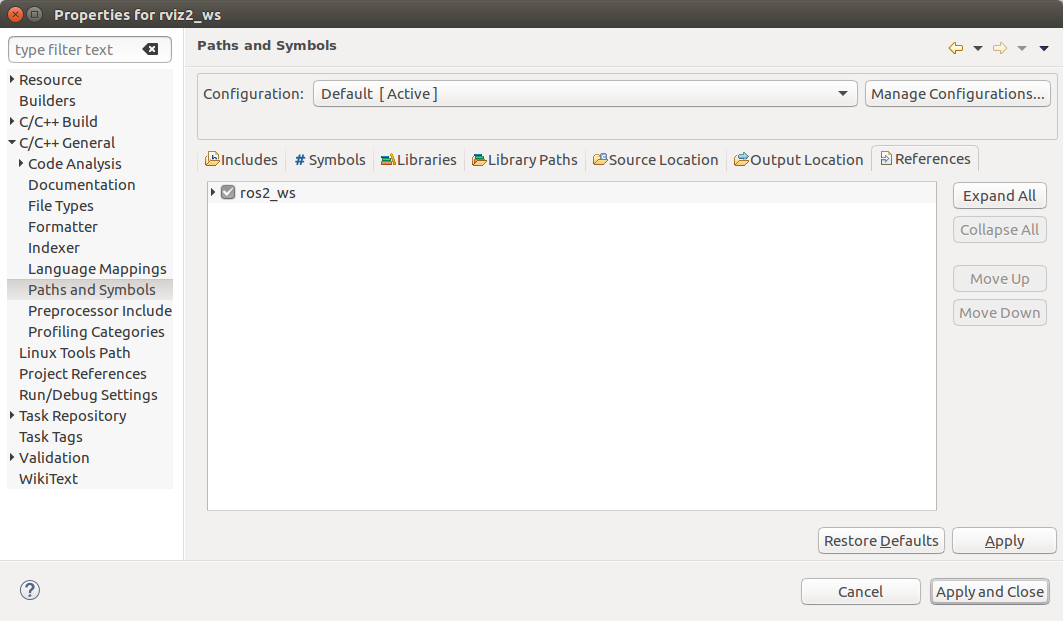
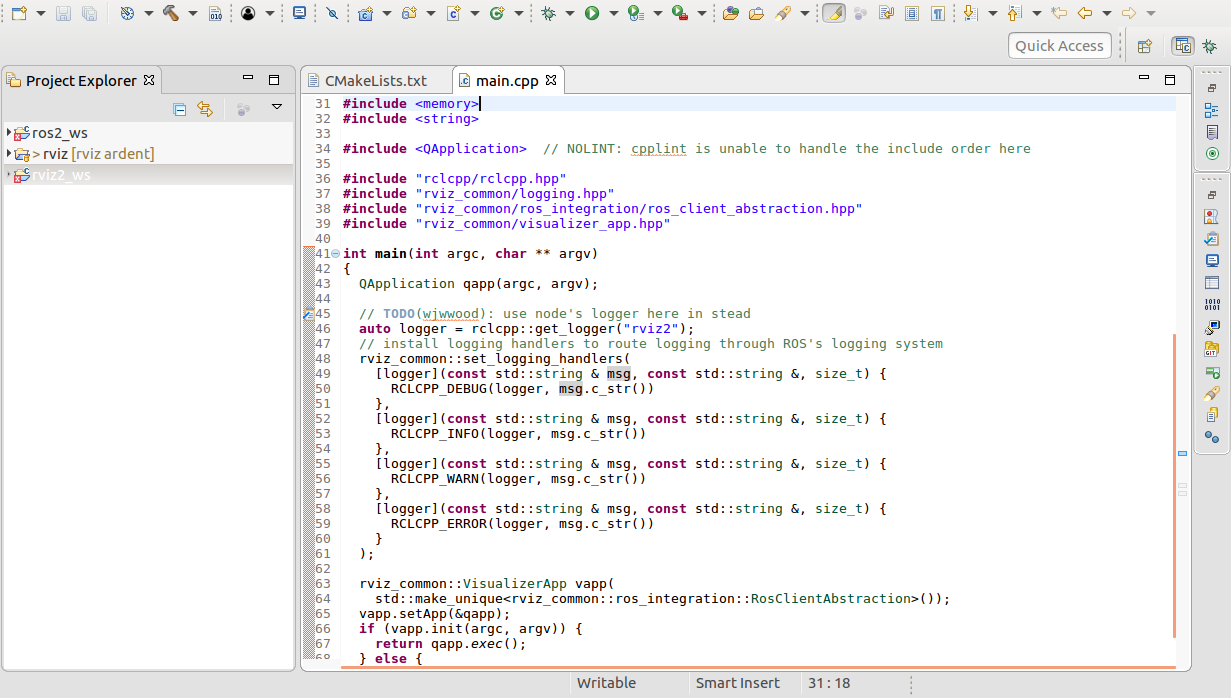
打开rviz2的main.cpp可能会显示很多"unresolved inclusion"警告。要解决此问题,请转到项目->属性->C++常规->路径和符号。点击"引用"选项卡,然后选择"ros2_ws"。
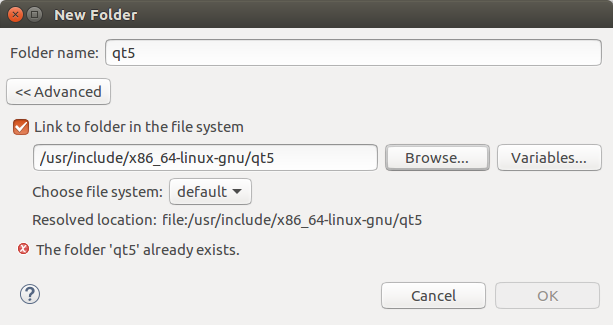
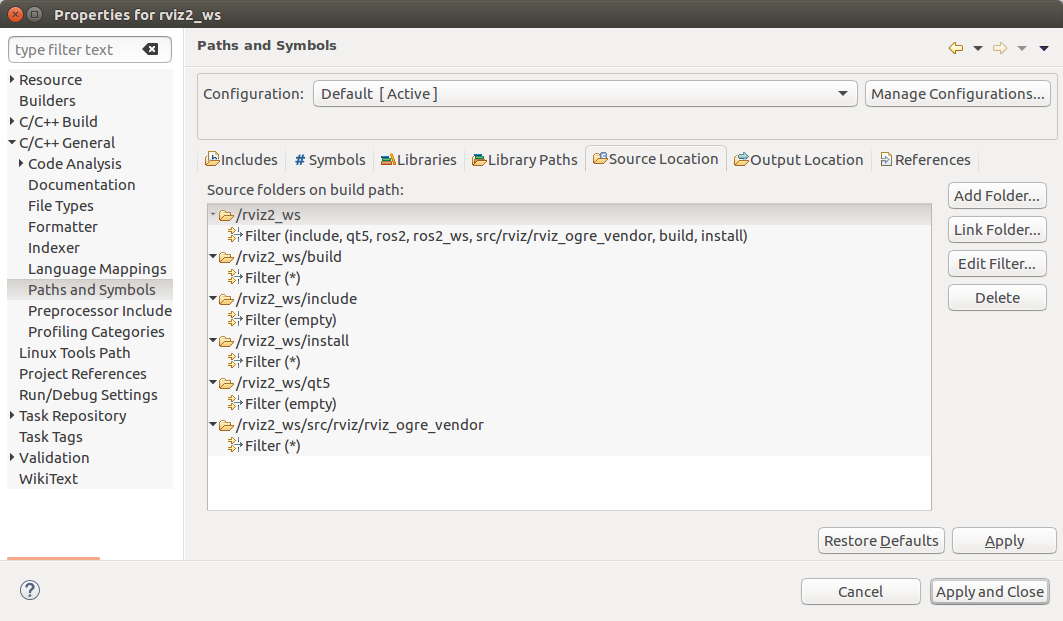
转到C/C++-General->路径和符号,点击"源位置"选项卡,然后点击"链接文件夹"。选择qt5包含文件的位置。
下一张图片应该会显示。最好在源位置中添加排除项,以便某些目录(如"Build"和"Install")不会被索引。
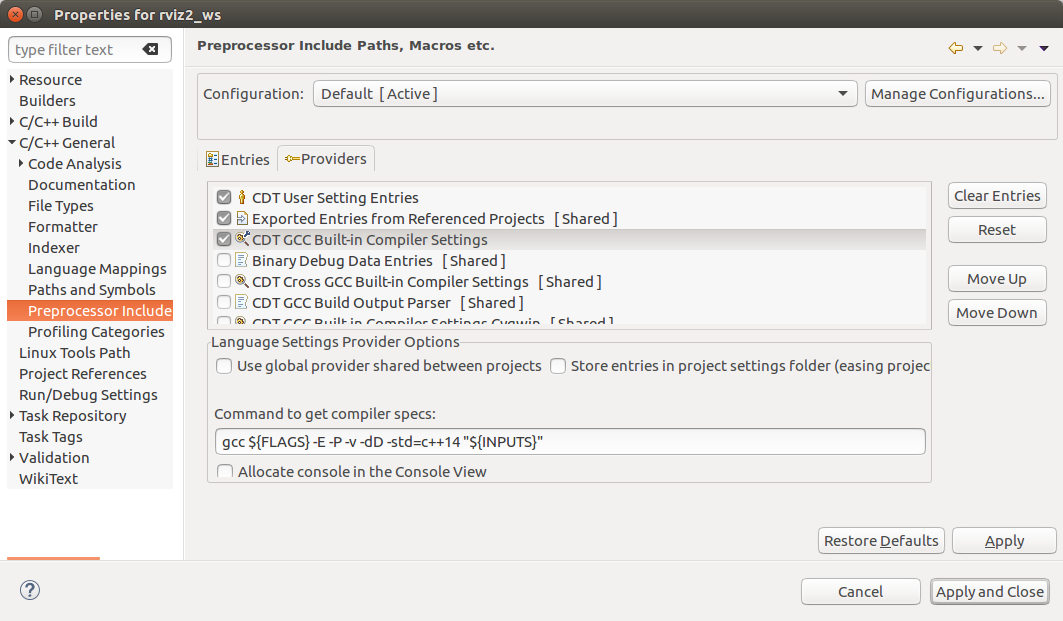
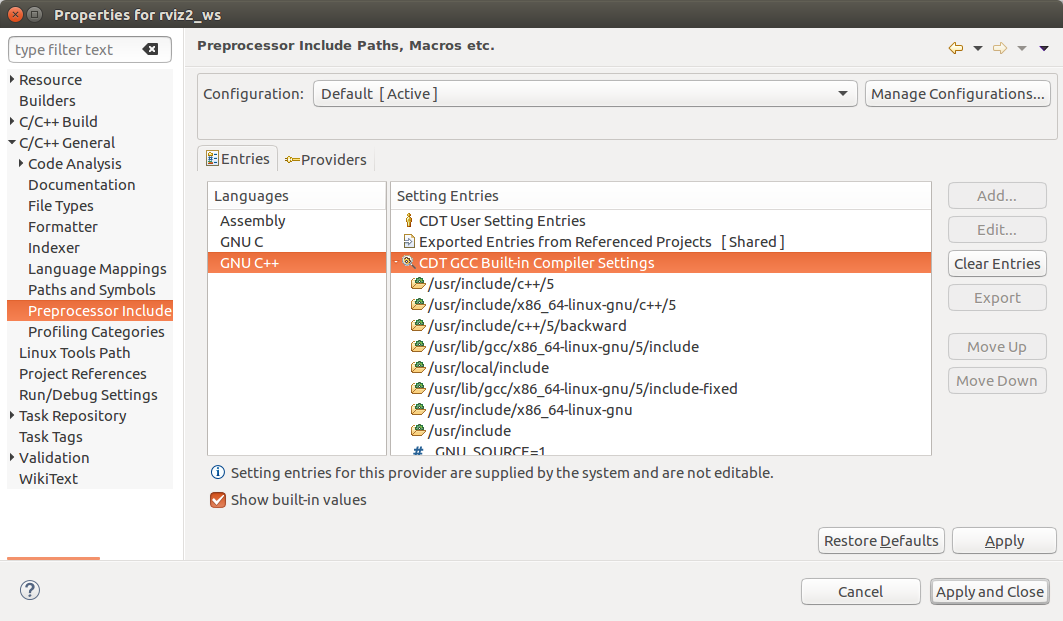
转到C++General->预处理器包含项,选择"CDT GCC内置编译器设置[Shared]",并在"获取编译器规范的命令"文本框中输入以下内容:
-std=c++14
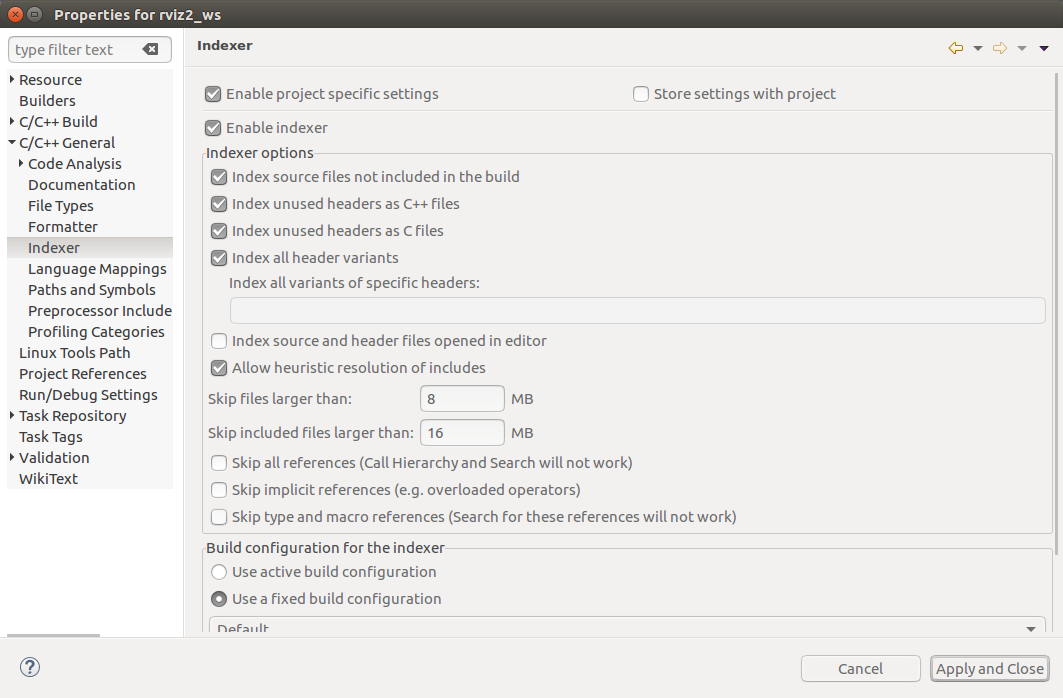
转到"C/C++-General->索引器",在图像中选择以下选项。例如,选择"将未使用的头文件索引为C文件",以解决QApplication的问题,因为QApplication头文件的内容只有"#include "qapplication.h""。
运行索引器之后(稍后会发生,所以你稍后也会看到这一步),你可以看到它添加了什么。
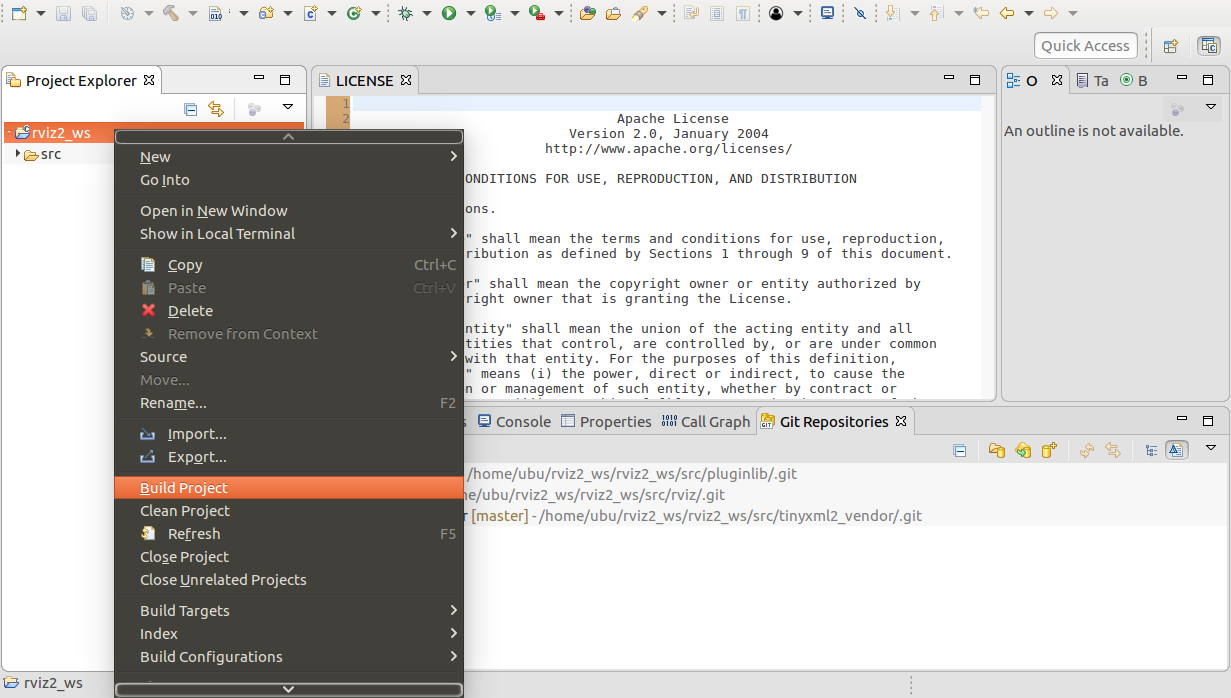
然后,在rviz2项目上右键单击,选择"索引器->重建",这将开始重建索引(右下角会显示进度图标)。索引重建完成后,应该能够解决所有的包含文件。
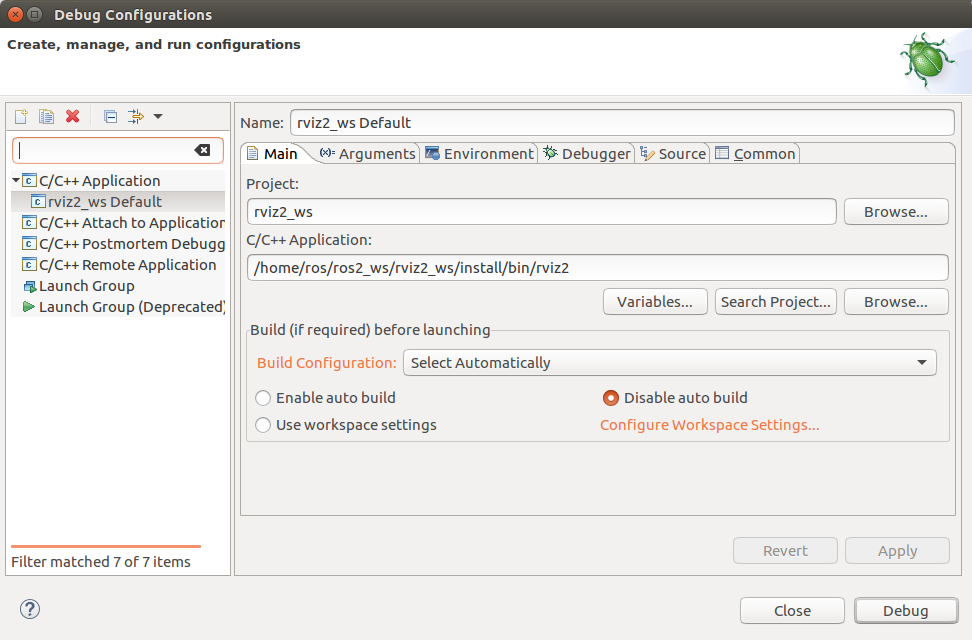
使用eclipse进行调试
进入"C/C++-Build"并添加以下构建命令:
-DCMAKE_BUILD_TYPE=Debug

然后在eclipse中进入"Run->Debug Configurations"并添加以下内容,然后点击"Debug"。